How to install an SSL certificate with WebSite Pro
On 06/08/2018 By Valentin RicciStep 1 - Generate a CSR from WebSite Pro
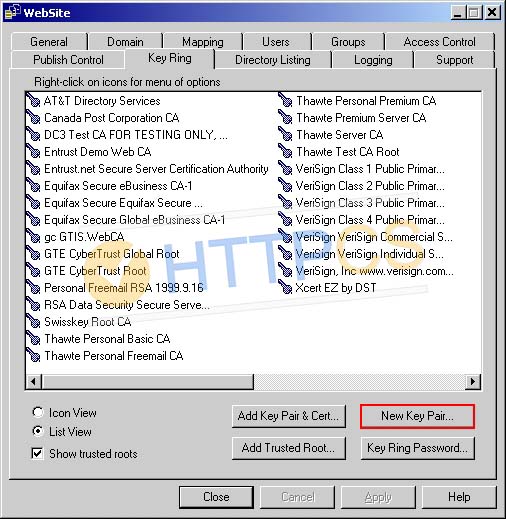
1. Open the Website Server Properties and click on the « Key Ring » tab, then click on « New Key Pair »
2. Fill in appropriate fields with your DN information.
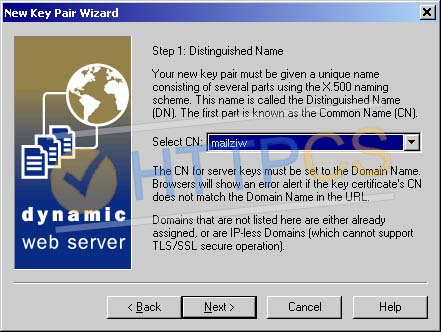
Warning: Do not click on the « Certification Authority (CA) » button.
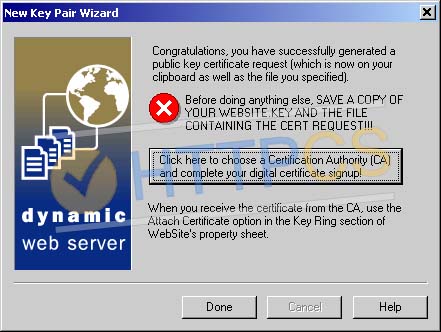
3. Your CSR is saved in the file you specified.
4. You can now buy an SSL certificate using the CSR you've just generated.
Step 2 - Install an SSL certificate
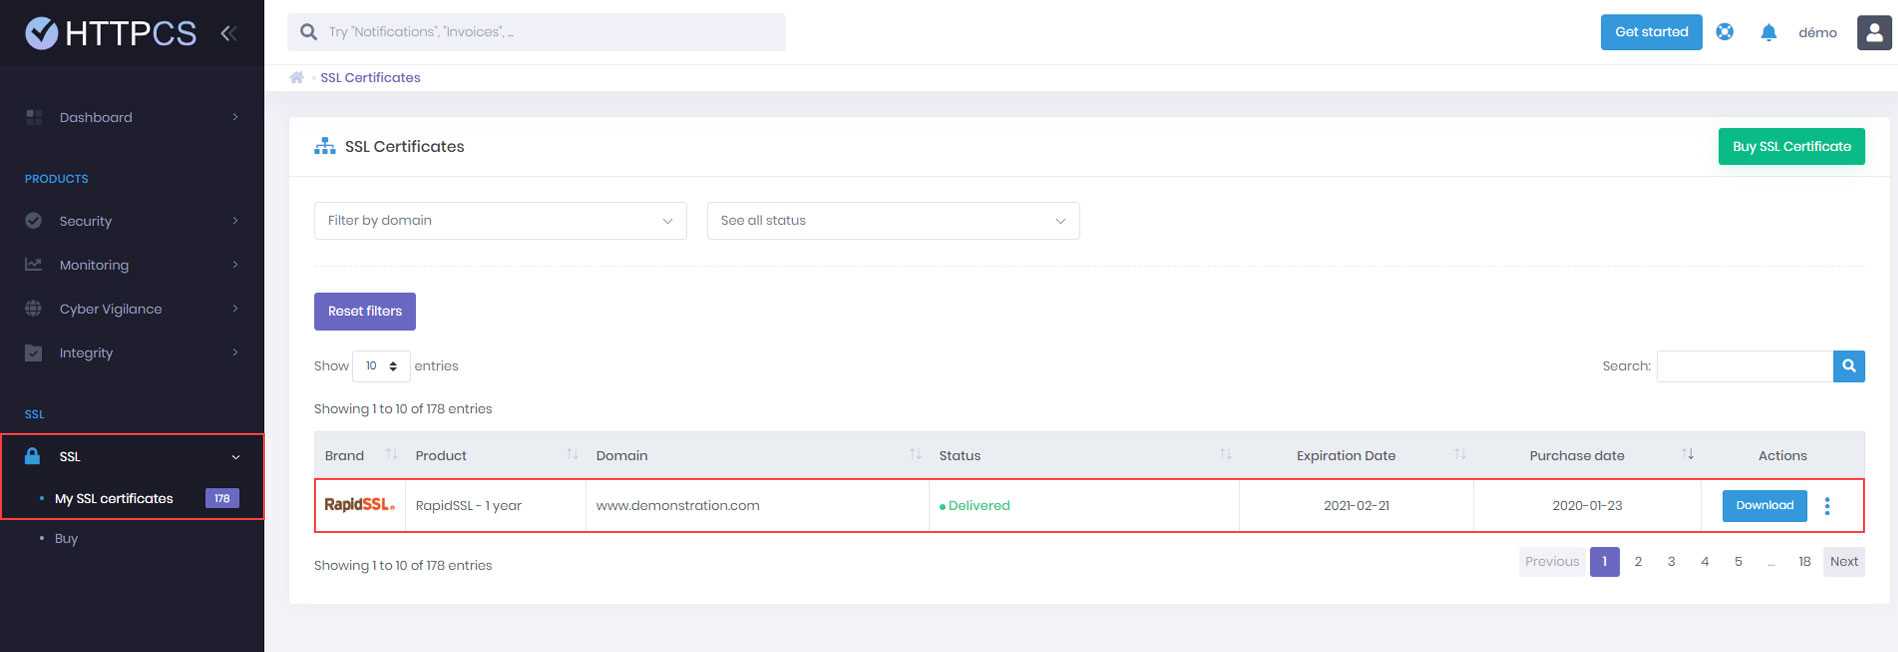
Once the Certification Authority has validated your CSR, you can download your certificate from your HTTPCS dashboard.
1. Move the certificates you've just downloaded to the same directory than your CSR.
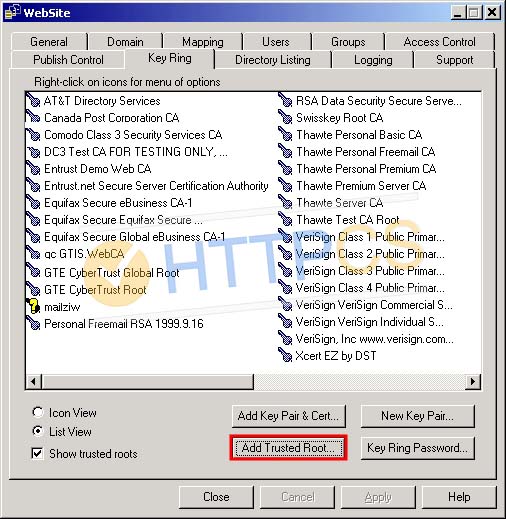
Open the WebSite Server Properties and go to the « Key Ring » tab.
Click on « Add Trusted Root » and choose the root certificate (TrustedRoot.cer).
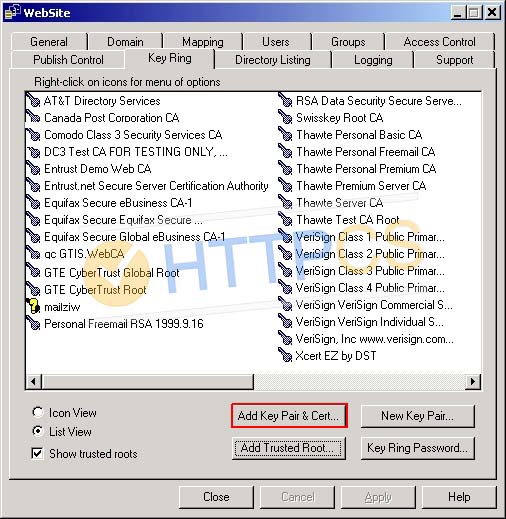
2. Go back to the « Key Ring » tab and click on « Add Key Pair & Certificates ». Here, install your intermediate certificate (CA-Certificate.cer) and your server certificate (ServerCertificate.cer).
3. Your SSL certificate is now installed. You can check its installation.
Buy a cheap SSL certificate for WebSite